
You’re on a client endpoint, your toolset is ready, and Windows starts screaming before the actual penetration test even begins. That’s not a successful engagement. That’s a noisy, distorted test that can hide the client’s real exposure.
If you run an MSP, support a vCISO, or handle GRC and compliance work, you need a clean way to disable Windows Defender on Windows 10 during a controlled assessment. Not because Defender is bad. Because a real pentest, pen test, or penetration testing engagement needs to measure the client’s environment without the built-in antivirus interfering with the exact behaviors you’re trying to validate.
Generic tutorials miss the point. They show a toggle. They don’t explain why your methodology matters, how to document the change for SOC 2, HIPAA, PCI DSS, or ISO 27001, or how to put everything back without creating audit pain. That’s where experienced operators separate themselves from people who just know how to click buttons.
Why Disabling Defender is Critical for Pentesting
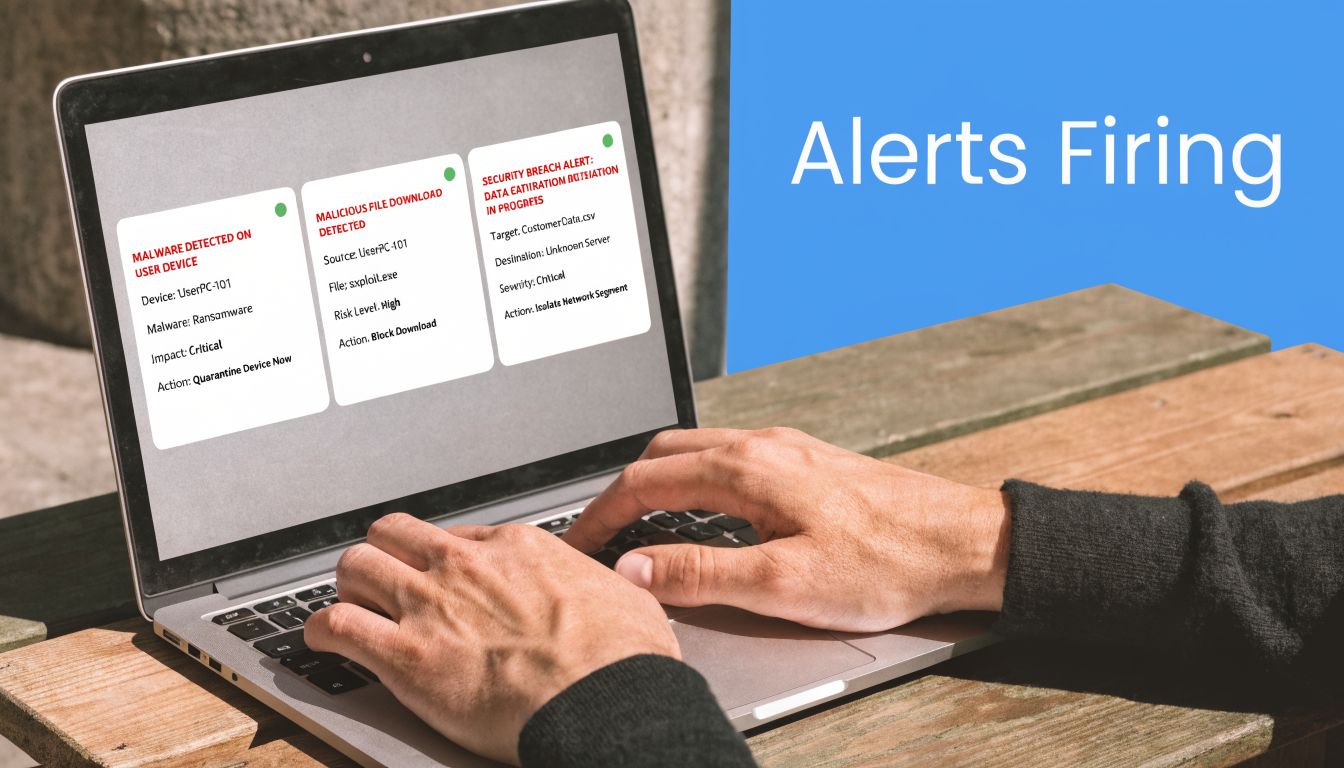
You get a signed authorization, drop onto a client workstation, launch a standard post-exploitation chain, and Defender kills the process before you can validate privilege boundaries, telemetry, or lateral movement controls. Now the client is not seeing how their environment holds up under realistic pressure. They are seeing Microsoft Defender do its job first.
That distinction matters.
A penetration test should show what happens after an initial foothold, not stop at the point where built-in antivirus quarantines the exact actions you were hired to assess. If Defender blocks tooling, interrupts payload execution, or prevents command-and-control simulation, the report ends up measuring Microsoft’s preventive controls more than the client’s segmentation, privilege design, logging quality, and response maturity.
For MSPs, that is not a small methodology issue. It affects the value of the engagement and the credibility of your service.
Exclusions are usually the wrong call
A lot of operators still add folder or process exclusions and move on. That is a shortcut, and it produces sloppy testing.
Exclusions leave the Defender engine running, which means behavior monitoring, cloud lookups, and other protections can still interfere with execution. You also leave behind a narrower test path that says more about what you whitelisted than about how the client would perform against a capable adversary. Microsoft documents that Defender uses real-time, behavior-based, and cloud-delivered protection layers that continue to inspect activity unless protection is turned off through supported controls, as described in the Microsoft Defender Antivirus overview.
If the engagement goal is to validate detection engineering, EDR visibility, identity controls, or containment gaps, partial suppression is not enough. Use the method that matches the scope.
Why MSPs need to care
Clients buying white label penetration testing are paying for signal, not tool crashes. They want proof that your team can run a controlled assessment, document every security change, keep the engagement clean, and restore protections afterward without creating audit headaches.
That is where good MSPs separate themselves from IT shops that bolt a scanner onto a compliance package. A disciplined Defender disablement process helps you produce findings that map to real business risk, support SOC 2, HIPAA, PCI DSS, and ISO 27001 evidence requests, and show the client that your offensive testing work is managed like a professional security service.
If your team needs a clearer foundation before selling or delivering these engagements, this guide to the basics of ethical hacking is a good place to start.
One more point matters for serious operators. In a mature assessment, the question is not only whether Defender was bypassed or disabled. The question is whether you used the right method for the engagement, kept the forensic footprint aligned with the test objective, and documented restoration so the client can defend the decision later. That is how MSPs turn one-off pentests into repeatable, higher-trust security services.
First Step Always Disable Tamper Protection
A pentest goes sideways fast when your operator has local admin, the client approved the scope, and Defender still blocks every change. That usually points to one thing. Tamper Protection is still on.

Treat Tamper Protection as the first checkpoint in your runbook, not a troubleshooting afterthought. On current Windows 10 systems, it blocks administrative changes to Defender settings and undercuts the old registry-first advice still floating around in generic tutorials. If your team skips this step, you create avoidable delays, messy logs, and weak documentation for the client file.
Why Tamper Protection comes first
Microsoft put Tamper Protection in the way for a reason. It prevents silent changes to security controls, even when those changes come from an administrator account. That matters to defenders, and it also matters to MSPs running authorized assessments because you need a process that is controlled, explainable, and easy to reverse after testing.
It also changes how professional operators work. If Defender settings refuse to change, do not waste billable time blaming PowerShell, Group Policy, or your tooling. Confirm Tamper Protection first, record the change, and proceed in the order your team already uses for an approved engagement.
That discipline is part of a solid pen testing methodology. Good methodology is not just about exploitation. It is about making temporary security changes in a way that holds up during client review, compliance questions, and post-assessment cleanup.
The clean UI path
Use the Windows Security interface for this step. It is visible to the client, simple to screenshot, and easy to map back to your change record.
- Open Settings and go to Privacy & Security or the Windows Security path available on the endpoint.
- Open Windows Security and select Virus & threat protection.
- Choose Manage settings under Virus & threat protection settings.
- Toggle off Tamper Protection.
Document who made the change, when it happened, and which system was affected.
For an MSP delivering white label manual pentesting, that habit matters. It keeps the engagement clean, helps your team avoid pointless troubleshooting, and shows the client you handle offensive security work like a service provider they can trust with bigger assessments later.
Disabling Defender on Pro and Enterprise Editions
For business environments, Group Policy is the right answer. It’s cleaner than ad hoc toggles, more repeatable than manual registry edits, and easier to explain during a compliance review.
If you support Windows 10 Pro or Enterprise, stop treating the UI toggle as your primary play. It’s temporary. It comes back. During internal penetration testing, that can interrupt tool deployment or break the middle of a multi-step chain.
The method that belongs in managed environments
The Group Policy Editor (gpedit.msc) method has a near-100% success rate on Windows 10 Pro and Enterprise when Tamper Protection is first disabled, and failures commonly happen on Home editions or when admins forget to run gpupdate /force, according to this Group Policy method write-up.
That’s why experienced pentesters prefer it for managed fleets. It persists, it’s auditable, and it matches how enterprise settings are meant to be controlled.
Step by step using Group Policy
Run this sequence on the target endpoint with administrative rights:
- Disable Tamper Protection first through Windows Security.
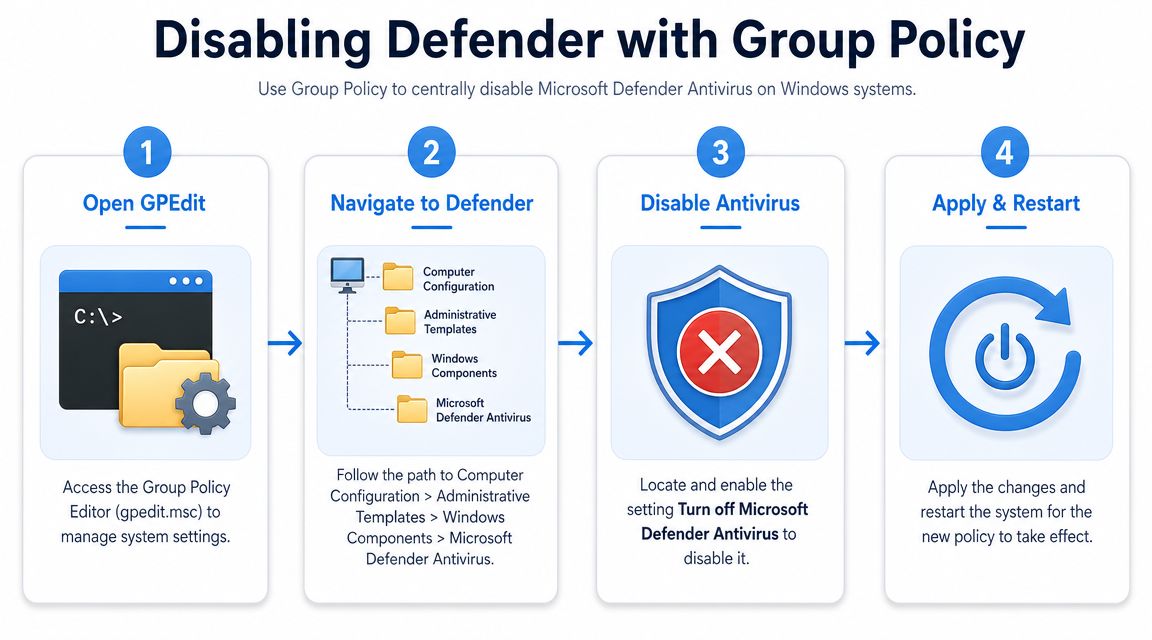
- Press Win + R, type
gpedit.msc, and hit Enter. - Go to Computer Configuration > Administrative Templates > Windows Components > Microsoft Defender Antivirus.
- Open Turn off Microsoft Defender Antivirus.
- Set it to Enabled.
- Click Apply and OK.
- Open a command prompt as administrator and run
gpupdate /force. - Restart the system.
Those steps are straightforward, but the order matters. If you skip the policy refresh, you can end up deploying tools against a host that still has active protection.
Why Group Policy is better than quick fixes
Here’s the simple comparison:
| Method | Best fit | Persistence | Audit friendliness |
|---|---|---|---|
| Group Policy | Pro and Enterprise business endpoints | Strong | Strong |
| UI toggle | Short testing windows | Temporary | Moderate |
| PowerShell | Fast session-based work | Temporary | Depends on process |
| Registry | Edge cases and older guidance | Unreliable on modern builds | Weak if undocumented |
That’s why I tell MSP owners the same thing every time. If the endpoint is business-grade, use the business-grade method.
Common mistakes that burn engagement time
Some failures are self-inflicted.
- Skipping Tamper Protection: The policy may appear to apply, but Defender resists the change.
- Forgetting
gpupdate /force: The setting sits there until refresh or reboot timing catches up. - Testing on Home edition:
gpedit.mscisn’t available, so your runbook needs a different branch. - Ignoring third-party AV interactions: Defender can behave differently when another antivirus product is already present.
Field note: Good operators verify state before dropping tools. Don’t assume the policy “took.” Check the endpoint first.
This is also where affordable and fast matter in your service delivery. A provider doing manual pentesting with disciplined runbooks gets through setup faster and produces cleaner evidence. That helps the MSP, the GRC advisor, and the client. Sloppy setup creates noisy findings, longer engagements, and awkward report language that weakens the value of the risk assessment.
Alternative Disabling Methods For Specific Scenarios
Group Policy is the default for managed environments. It’s not the only option.
Sometimes you’re on a non-domain-joined machine. Sometimes the client wants a temporary change only for a narrow test window. Sometimes you need to script the action because the engagement has a tight timeline. That’s where PowerShell, the UI toggle, and in limited cases the registry method come into play.
PowerShell for short-lived control
For speed, PowerShell is hard to beat. The command most testers know is:
Set-MpPreference -DisableRealtimeMonitoring $true
That’s useful when you need to stage tooling, transfer files, or run a session-specific task without changing broader system policy. It’s common in internal pentest work, especially when your certified operators need to move quickly and keep the scope tight.
There’s one catch. Microsoft designed temporary disablement to reverse itself.
According to this video walkthrough of Defender real-time protection behavior, temporarily disabling Defender through the UI or with PowerShell is standard during pentesting, but the service is built to reactivate automatically. That auto re-enablement can kill persistence payloads or interrupt a red team chain, which is why session-based PowerShell control is a practical skill for experienced testers.
UI toggle for simple installs and isolated tests
The UI route is fine when the need is narrow and short.
Use it when:
- You’re installing one tool: A trusted utility gets flagged and you need a short pause.
- You’re validating one behavior: A quick test needs less setup overhead.
- The endpoint is lightly managed: No policy control, no automation need, just a supervised change.
Don’t use it as your primary method for a serious internal penetration test. It’s too easy for the system to restore protection in the middle of work.
The UI toggle is acceptable for convenience. It’s weak as methodology.
Registry edits for edge cases only
The registry path still gets mentioned in old tutorials. Use it carefully and only when you know why you’re touching it.
The legacy path tied to Defender policy is:HKEY_LOCAL_MACHINE\SOFTWARE\Policies\Microsoft Defender
Historically, admins used the DisableAntiSpyware value. On modern builds, that’s not a reliable permanent method because Microsoft removed support for that path in newer Defender platform versions, as covered earlier. So if your runbook still says “just set the DWORD and reboot,” update the runbook.
Here’s the practical comparison for MSP teams:
| Scenario | Best choice | Why |
|---|---|---|
| Managed Pro or Enterprise endpoint | Group Policy | Persistent and auditable |
| Short operator session | PowerShell | Fast and scriptable |
| One-off software conflict | UI toggle | Simple and visible |
| Legacy or odd edge case | Registry | Last resort, not standard |
The business lesson is simple. Your disablement method should fit the engagement goal. If your team handles white label pentesting, consistency matters. The client may never see your operator console, but they will feel the difference in the quality of the findings and the clarity of the report.
Safely Re-Enabling Defender After Your Pentest
A lot of guides stop at “disabled successfully.” That’s not professional. It’s half a job.
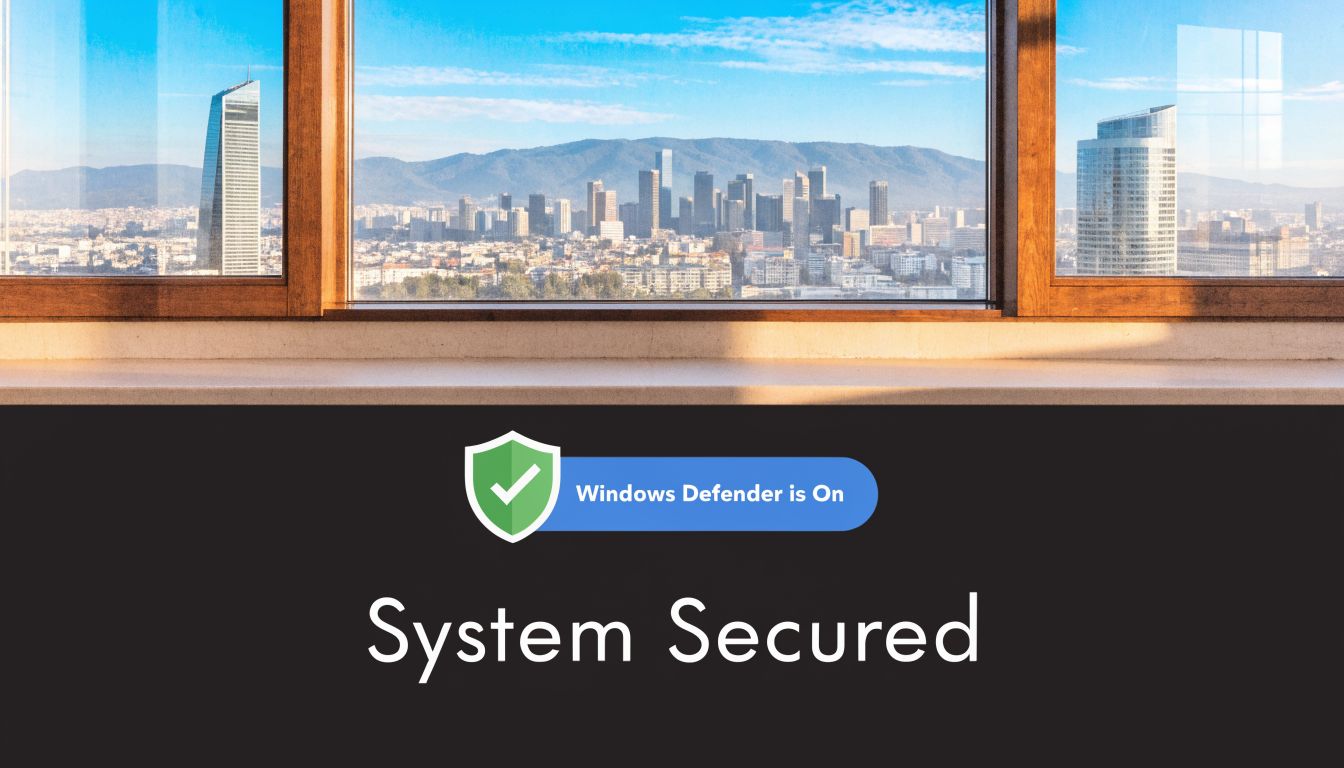
When a penetration testing engagement ends, the client’s endpoint protection needs to be restored and verified. If you leave Defender disabled, you’ve created an avoidable security gap and handed the client a future audit problem.
Re-enable with the same discipline you used to disable
The biggest weakness in most disablement guides is that they barely mention rollback. For MSPs, leaving Defender off after a test is a real business risk and can cause failures in SOC 2 audits, as explained in this guidance on turning Windows Defender back on safely.
That means rollback isn’t a courtesy. It’s part of the engagement.
A practical rollback checklist
Use a documented checklist every time:
- Reverse the control used: If you used Group Policy, set the policy back to Not Configured. If you used PowerShell, restore the setting for real-time monitoring. If you changed the registry, remove or reverse that change.
- Refresh and restart: Run the policy refresh if needed, then reboot so the endpoint fully restores normal behavior.
- Re-enable Tamper Protection: Don’t leave the deadbolt open.
- Validate protection status: Check that real-time protection and cloud-delivered protection are active again.
- Record the change: Put it in the ticket, report appendix, or client change record.
Compliance takeaway: If you can’t prove Defender was restored, assume that question will show up during an audit.
Mature GRC support and strong offensive ops come together. A clean rollback helps your client defend their environment and defend their documentation. That’s good security and good account management.
Partner With Experts For Your Pentesting Needs
Endpoint security quirks like this are only one small part of doing good pentesting. The primary challenge for an MSP, vCISO, or reseller is delivering a service that’s technically sound, affordable, fast, and credible in front of compliance-focused clients.
That’s why many firms pair managed services with specialist resources and broader security guidance. For example, this overview of IT Cloud Global's cybersecurity solutions is a useful look at how managed IT and security support intersect for business clients dealing with practical cyber risk.
If you want a channel-only partner that won’t compete for your accounts, a dedicated white label pentest partner for MSPs and resellers is the cleaner model. It gives you certified operators, clear reporting, and a way to deliver manual pentesting under your brand without building the whole practice in-house.
The best partners make your business stronger. They don’t get in the way, and they don’t poach your clients.
If you need affordable, fast, and white label pentesting from certified OSCP, CEH, and CREST professionals, MSP Pentesting can help you deliver high-quality penetration testing without competing with your client relationships. Contact us today to learn more.
%20(1).png)
.png)
.png)

